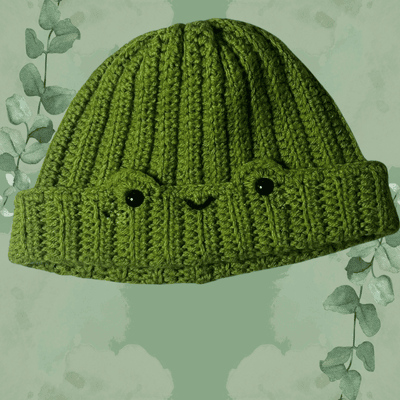
The Best Crochet Frog Hat Pattern will keep you nice and toasty during fall and winter. If you need a quick and cute crochet project, this frog hat is the one for you! Because it only uses one color, it works up fairly fast.
The crochet frog can be sized to fit any head. The crochet frog beanie is subtle; unless you’re up close, it looks like a perfectly normal green beanie. The crochet frog hat pattern is perfect for beginners because no joining rounds, increasing, or decreasing is required.
You might also like my Crochet Frog Bag Pattern.
So let’s begin making the crochet frog hat pattern.
Things To Note:
Yarn Information: I used acrylic worsted yarn for this free, easy crochet frog hat pattern.
Hook Size: Using a 5.5mm hook.
Kid-Sized Crochet Frog Hat: For a kid-sized crochet frog hat, I recommend chaining 25-30 and then following the pattern as normal, completing only 30-35 rows.
Materials Needed:
- Small amount of black.
- 1 skein of green yarn.
- 5.5mm hook.
- Safety eyes.
- Tapestry needle.
Abbreviations to Remember (US Terms):
- Single crochet (sc)
- Chains (ch)
- Half double crochet (hdc)
- Back loop only (blo)
- Double crochet (dc)
Variations:
- Use different shades of green for a unique look or try varying the number of rows for different sizes.
- Experiment with different types of yarn, like cotton or chunky, to give the hat a different texture.
Instructions for Best Crochet Frog Hat Pattern:
Let’s start!

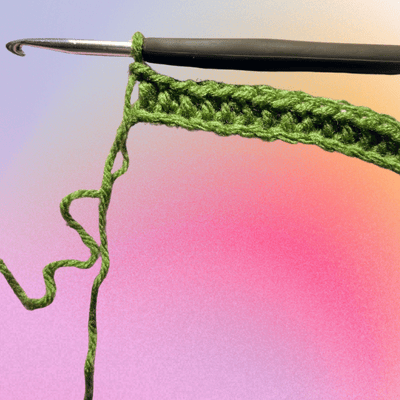
Row 1: Ch x41, turn.
Row 2: In the second chain from the hook, make a hdc. Continue to make hdc for the rest of the row. (40) At the end of the row, ch x1 and turn. (The ch is a turning ch, you will be making these every row but do not work in them!).

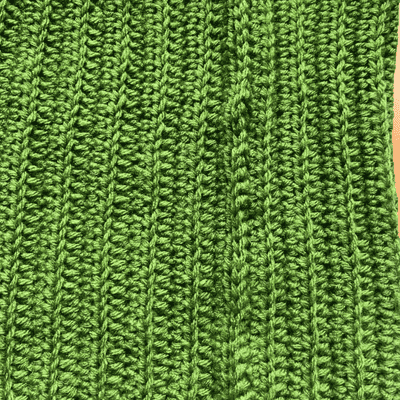
Row 3: In blo, hdc for the entire row (40). Ch x1 and turn.
Row 4-44: Repeat row 3. (40). Ch x1 and turn.
Use more or less rows depending on the size of hat you are trying to achieve.
Before fastening off the yarn you want to fold the rectangle in half and then sew it shut.
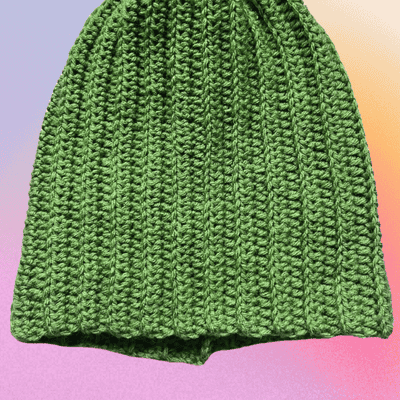
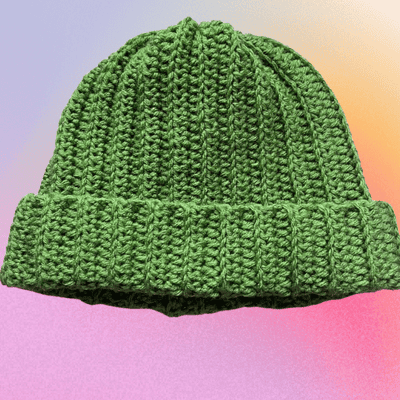
After the side of the hat has been sewn shut, take the yarn and cinch the top of the hat shut. Fasten off and weave in the end.
Once that is done, flip the hat inside out so now the sewn edges are on the inside of the hat.
Brim:
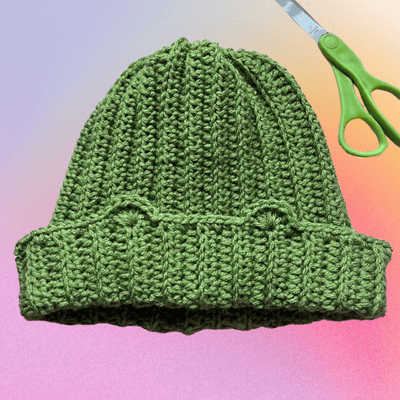
Now for the frog eye socket:
You are going to make a crochet shell stitch. To do this yarn over, skip a stitch, and then insert the yarn and make a dc. In the same stitch make another 5 dc’s in it. Then skip the next stitch and sc into the following stitch.
Sc x10, then make another shell stitch as outlined above. Once that is done finish sc the rest of the brim. Fasten off and weave in the ends.
Figure out what side of the hat you want as the front side. Then insert your yarn onto the edge and make a sc. Make 10 more sc.
Finishing:
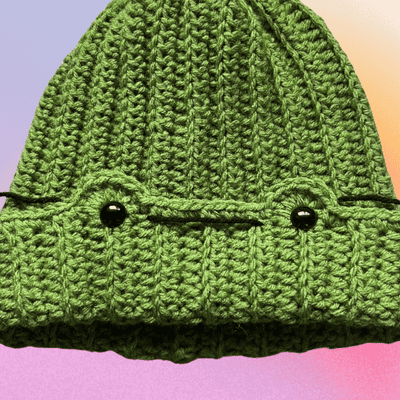
Insert safety eyes to the frog’s eye sockets.
With black yarn embroider the mouth by making a straight line across between the eyes.
Once all of that is done, the ends are weaved in, your crochet frog hat pattern is completed! I hope you enjoy your crochet frog beanie as much as I had fun designing the pattern for it!
If you like this beanie design, you will probably like my crochet bear hat pattern as well.
Expert Tips:
Adjust the Yarn Weight: For a thicker, cozier hat, try using chunky yarn.
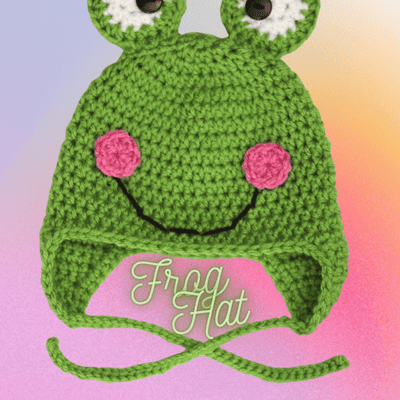
Customize with Facial Expressions: For a playful twist, use embroidery to add cute or funny expressions to the frog’s face.
Earflaps and Ties: For a winter-ready version, add earflaps by chaining 8-10 stitches, attaching them to the sides.
Secure Eyes Well: Ensure the safety eyes are tightly fastened to avoid any potential safety hazards, especially if making the hat for children.
Pattern FAQs:
What is the best green yarn for the hat?
For a vibrant and cute look, a bright lime green or a deep forest green can work well.
How do I add the eyes to the hat?
You can either crochet the eyes separately and sew them onto the hat or use safety eyes.
How long will it take to make the frog hat?
It depends on your skill level and the complexity of the pattern.

